Configure the RADIUS server
- In the NPS console, add a new RADIUS client, and then do the following:
- In the Address (IP or DNS) field, enter the NoPass™ server IP address
- Form the Shared secret list, select the same secret as one used in the NoPass™ configuration.

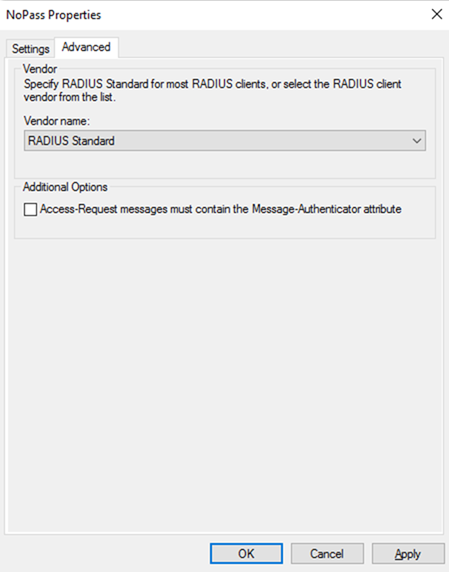
- The Advanced tab is fulfilled by default.
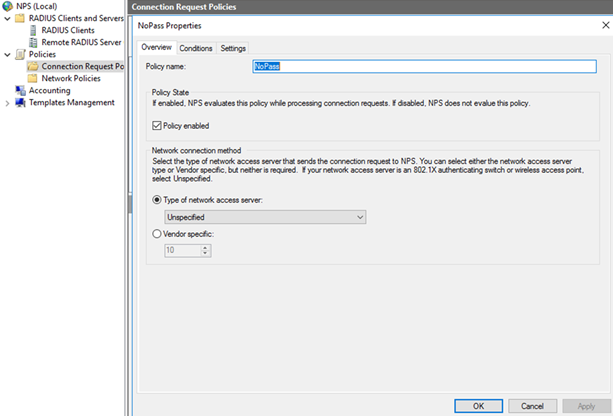
- In the NPS console, select Connection Request Policy, and do the following:
- On the Overview tab, in the Policy name field, enter NoPass.
- In Policy State, select Policy enabled.
- In the Network connection method, select Type of network access server → Unspecified, then click Apply.
- On the Conditions tab, set Day and time restrictions, and click Apply.

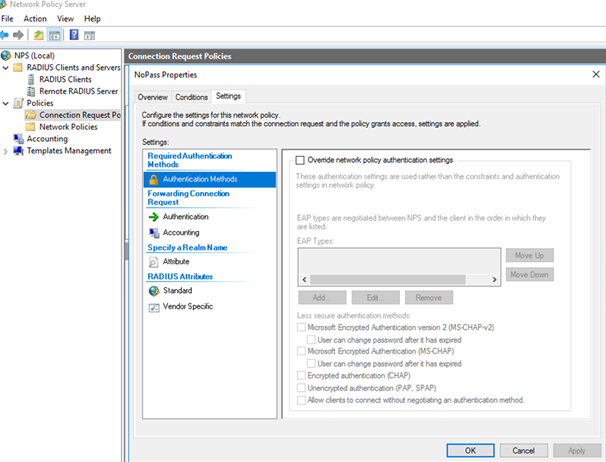
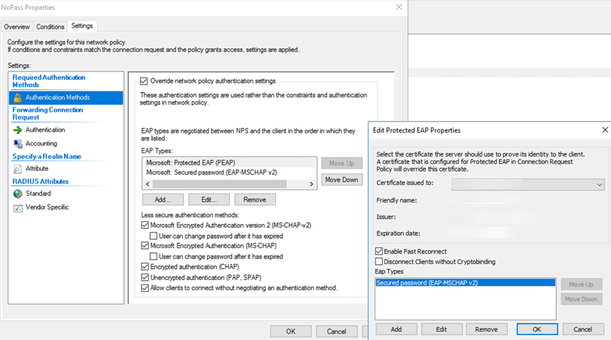
- On the Settings tab, configure Authentications methods, and click Apply.
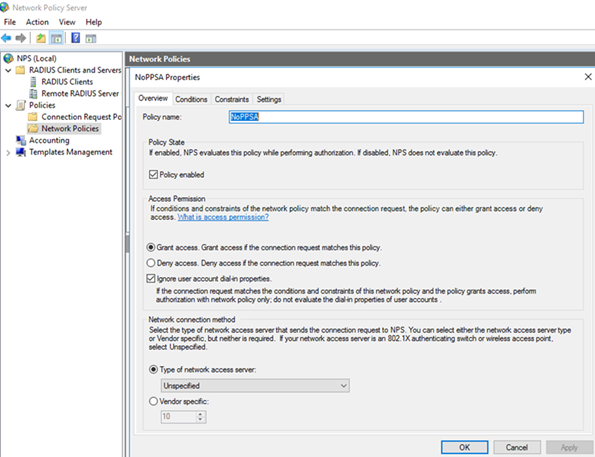
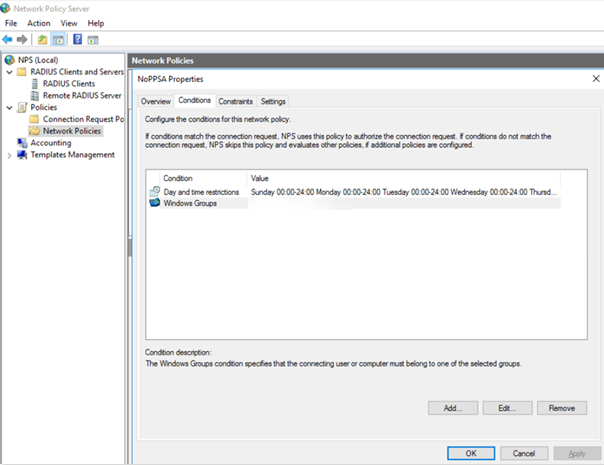
- In the NPS console, select Network Policies, and do the following:
- On the Overview tab, in the Policy name field, enter NoPPSA.
- In Policy State, select Policy enabled.
- In Access Permission, select Grant access. Grant access if the connection request matches this policy. Select Ignore user account dial-in properties.
- In the Network connection method, select Type of network access server, and then click Apply.
- On the Conditions tab, configure additional rules related to the Active Directory access hierarchy. Click Apply.
- On the Settings tab, install an appropriate certificate. Self-signed certificates are allowed here.
Now that the NoPass™ system is integrated with your RADIUS server, you can add RADIUS clients, such as WiFi, VPN, RDP, etc.