NoPass™ UI Configuration
Introduction
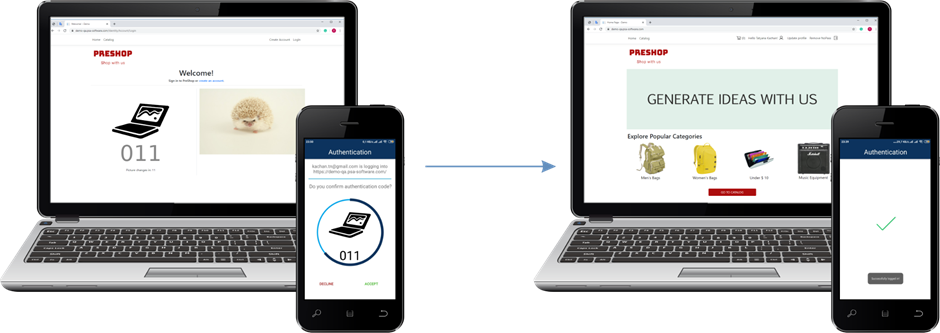
NoPass™ passwordless authentication is based on the user comparing a set of images and codes that are separately generated on the authentication server and the NoPass™ mobile app. These two picture/code instances should be identical on both your website and the NoPass™ authentication mobile app.
To show these (picture/code) first, some adjustments are to be introduced to your UI (website) and, second, the necessary space and UI options are to be allocated to make this happen.
NoPass™ Interaction button
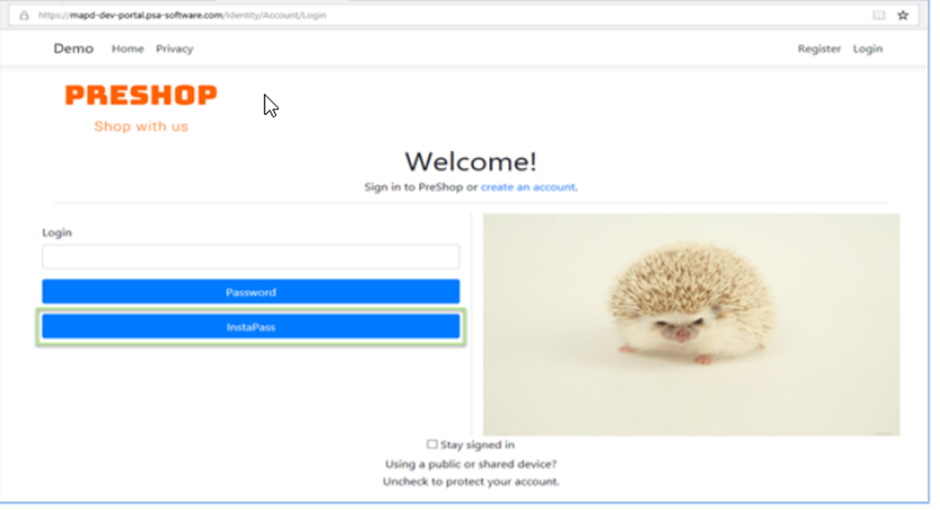
The first element to be added is an interaction button which the user can choose to start a registration process or an authentication attempt.
This also serves as a button that the user can use for an alternative authentication method on your website.
Section to display Picture and code
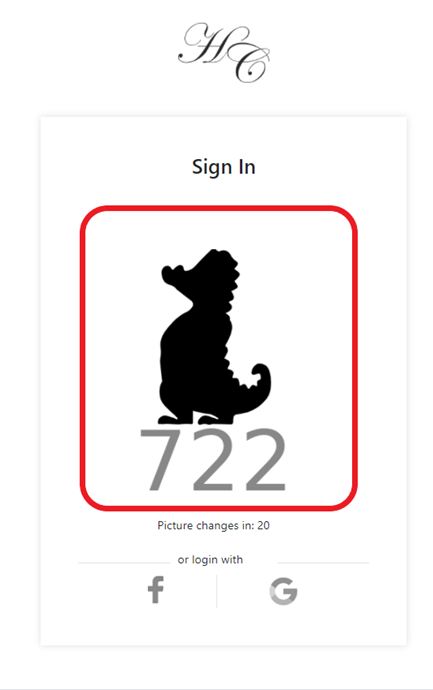
After a registered user comes into your website to authenticate, upon choosing to authenticate via NoPass™ (the interaction button that was added before), the authentication picture and code will be sent to your website from the NoPass™ authentication server, thus, a section on the login page is to be allocated for this picture and code to be displayed.
This picture is a PNG 8-bit file (PNG-8) that is coded in Base64 format.

Authentication counter
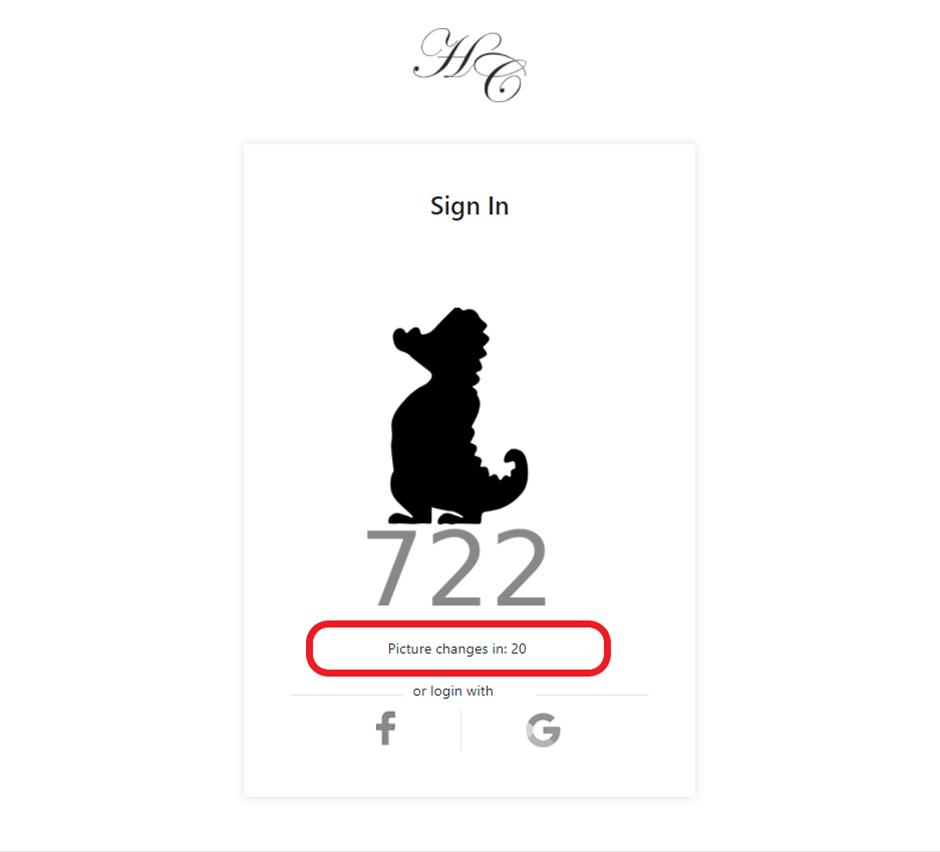
The picture and code that is sent from the authentication server to your website has an expiration time (by default, 30 seconds) and will change after the expiration time is over, you can add this time as a form of a counter below the picture and image.
This is an optional element that you can choose to add to your login page.
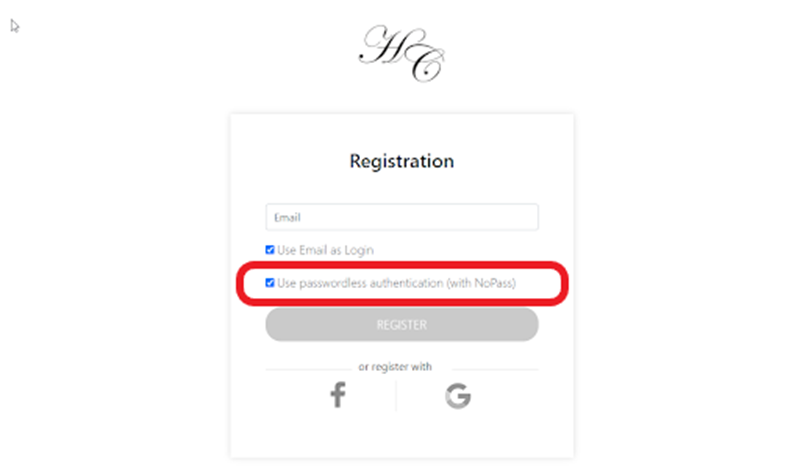
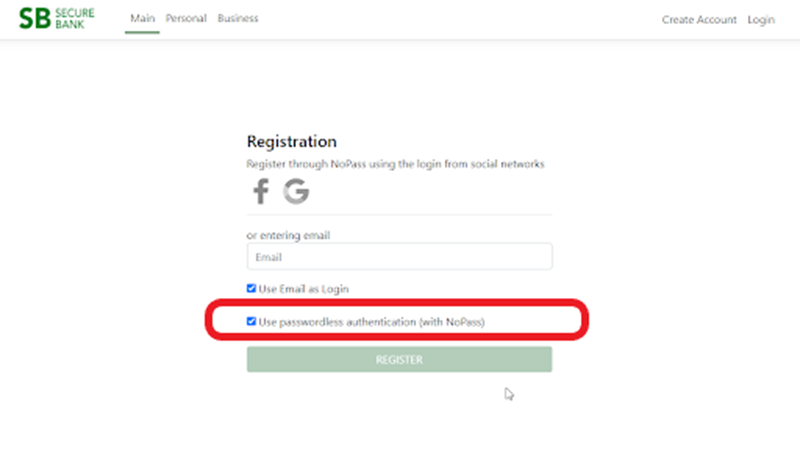
User NoPass™ registration/authentication
You will also need to add functions to offer users registration and authentication via NoPass™. This is usually added as an option on the registration page or as a button on the login page (see examples below).
next topic: NoPass™ API Integration
previous topic: Getting started