AD FS as a service provider
You can easily integrate the Microsoft ADFS environment as a brokered identity provider in Keycloak.
Make sure you have administrative access to both your Keycloak and ADFS environments.
Procedure
STEP 1. CONFIGURE AD FS
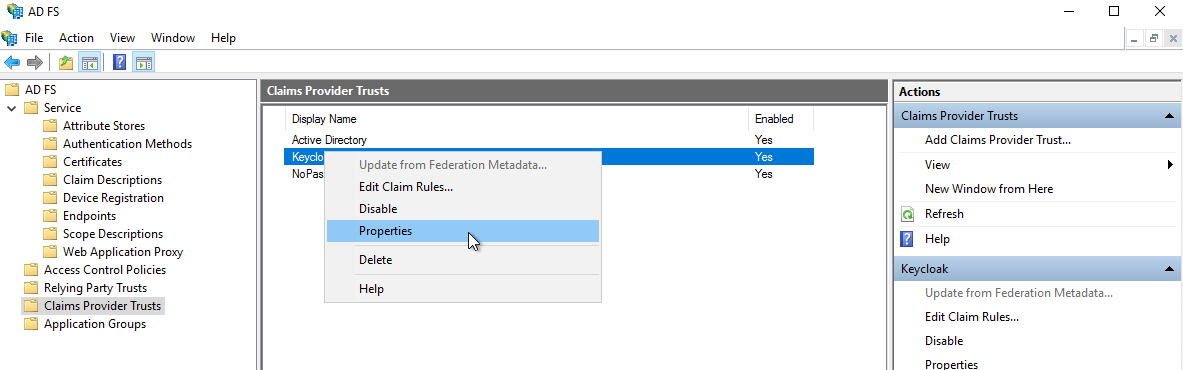
- In the AD FS Management console, on the left pane, select the Claims Provider Trusts folder.
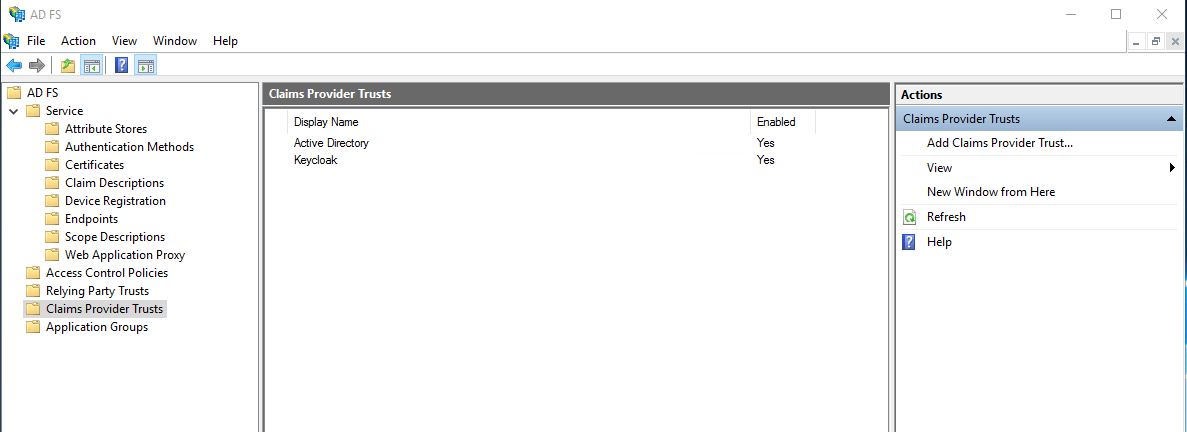
- On the right pane, select Add Claims Provider Trust to open Wizard.
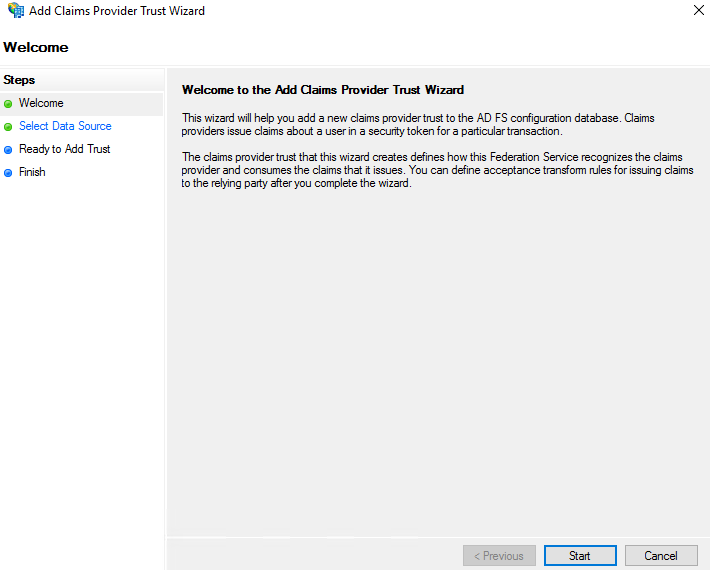
- In Welcome, select Start.
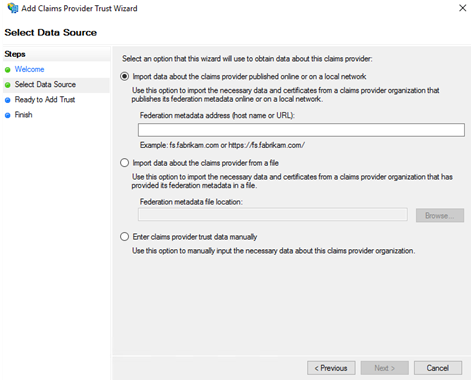
- In Select Data Source, select the following options, as appropriate:
- Using metadata URL
- Using metadata XML
- Manual configuration
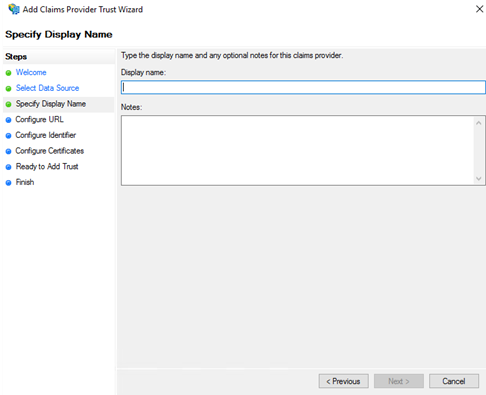
- To configure Claims Provider Trust manually, do the following:
- In the Specify Display Name, enter display name and notes.
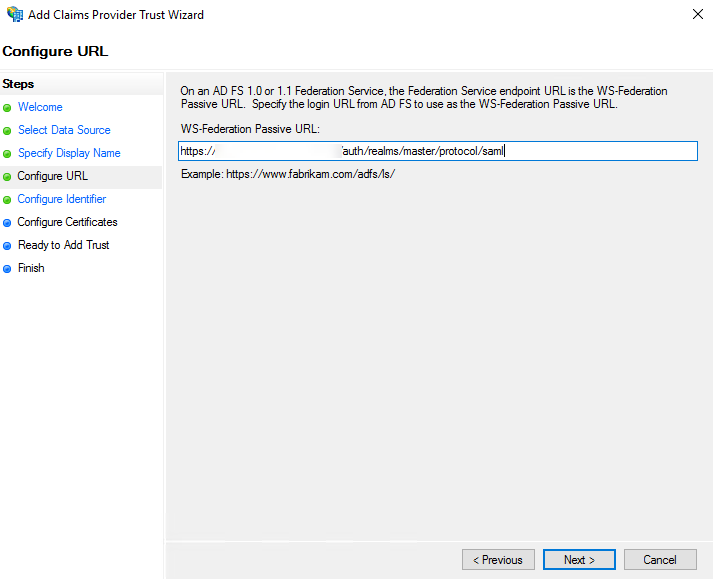
- In Configure URL, enter a service provider URL.
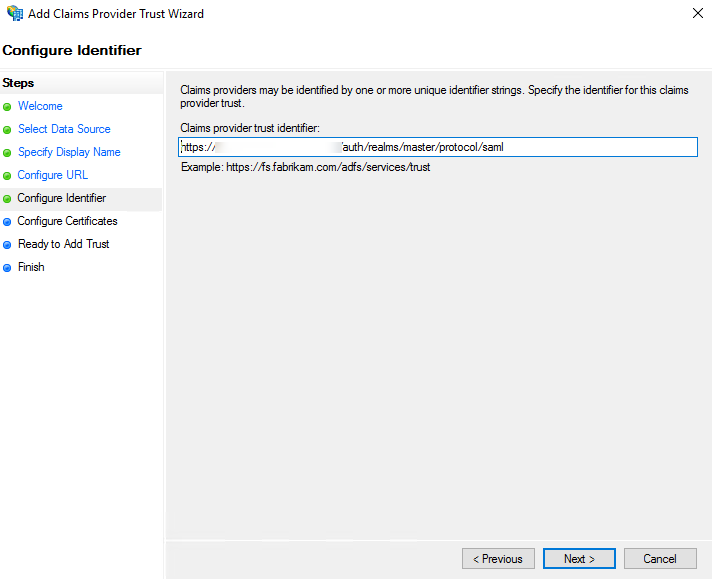
- In Configure Identifier, enter claims provider trust identifier.
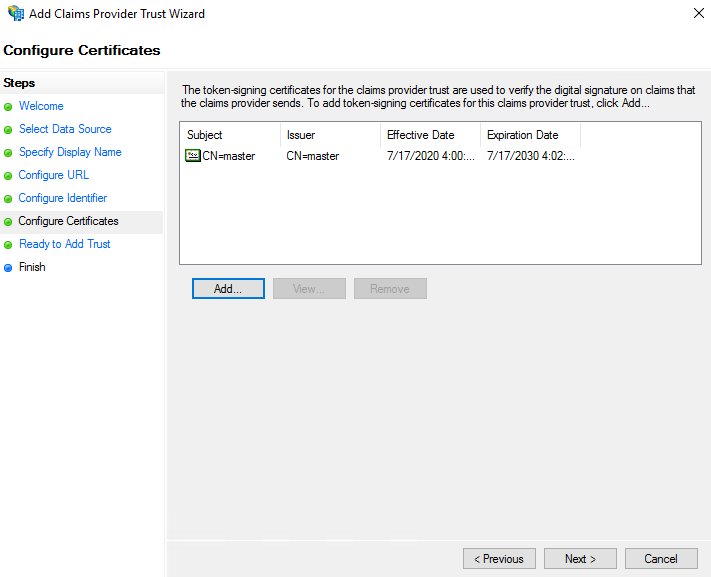
- In Configure Certificates, add the token-signing certificate from the Keycloak provider.
- Check the ready status and click Next.
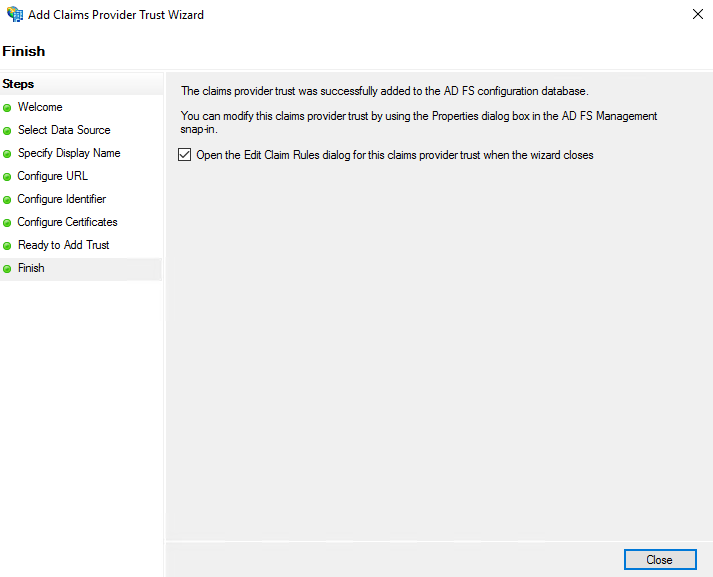
- In Finish, select Open the Edit Claim Rules dialog…, and select Close.
- In the Edit Claim Rules for NoPass™ IDP dialog box, select Add Rule.
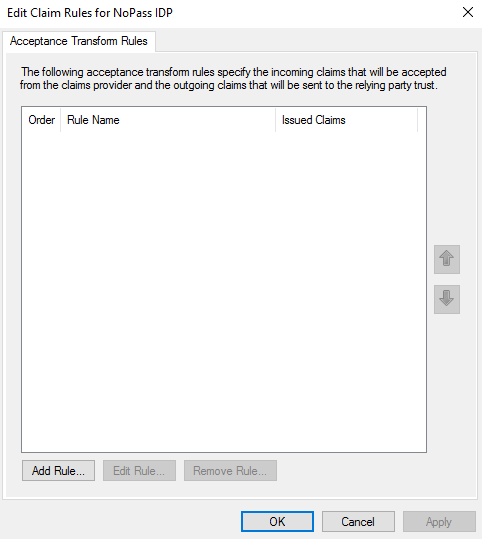
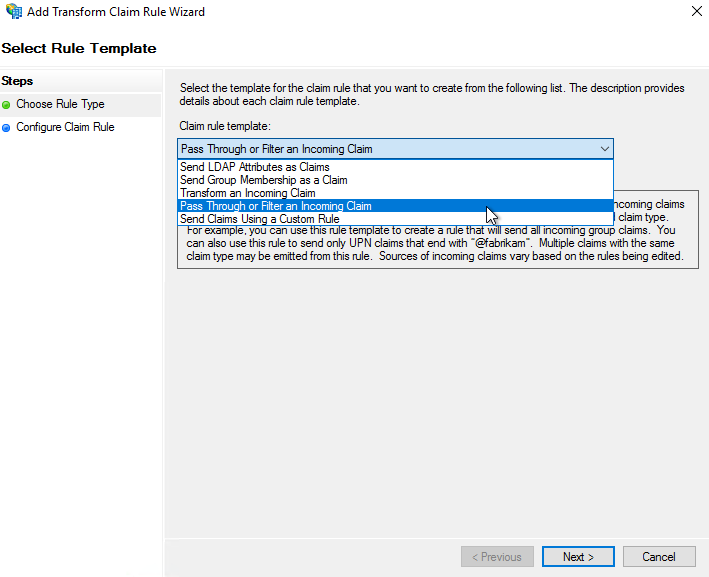
- In Select Rule Template, from the Claim rule template list, select Pass Through of Filter Incoming Claim, and then select Next.
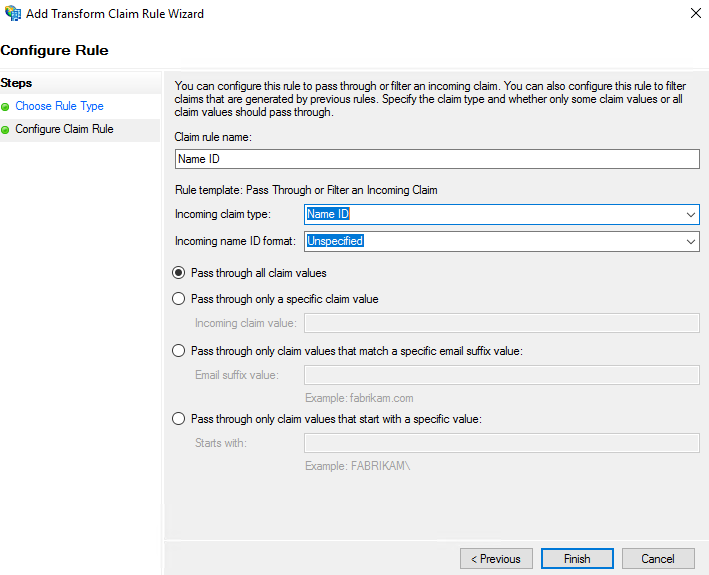
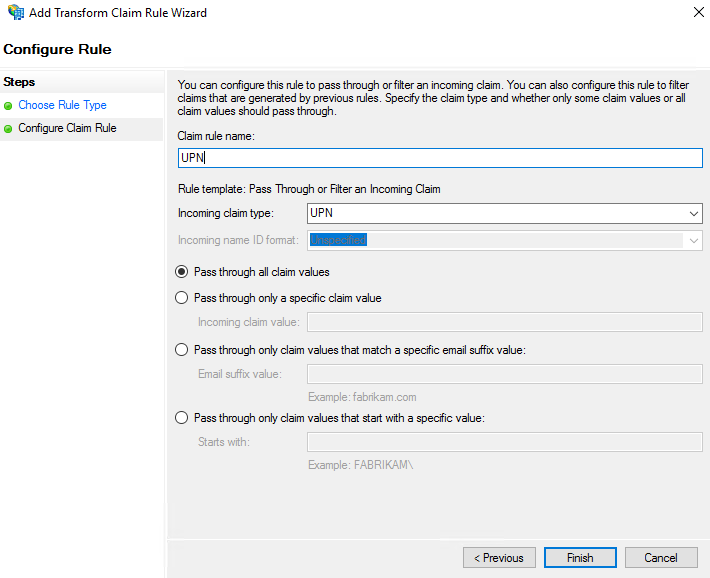
- In the Configure Rule dialog box, in Choose Rule Type, configure the following parameters:
- Name ID
- UPN

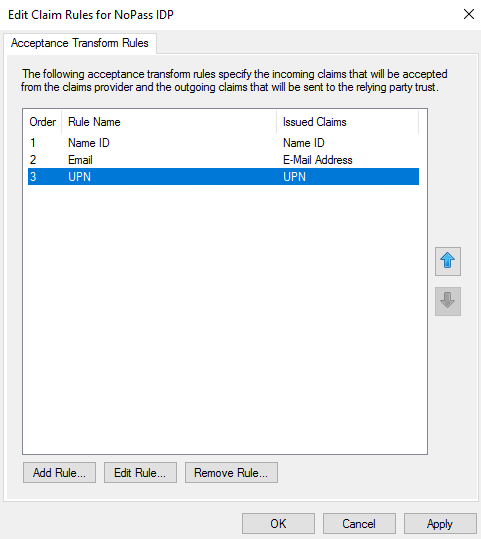
- In the Specify Display Name, enter display name and notes.
- In the AD FS Management console, select the Claims Provider Trusts folder, and under Keycloak select Properties.
-
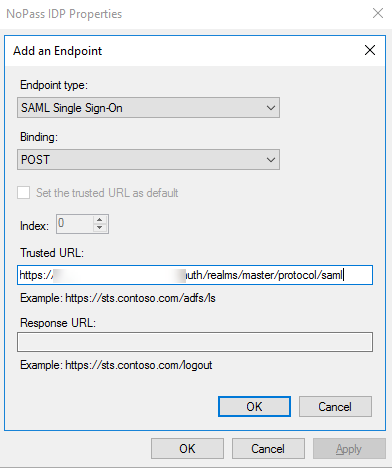
In the NoPass IDP Properties, select Endpoints, and do the following:
- In Add and Endpoint, in the Endpoint type list, select SAML Single Sign-On. In the Binding list, select POST. In the Trusted URL field, enter your service provider URL.
-
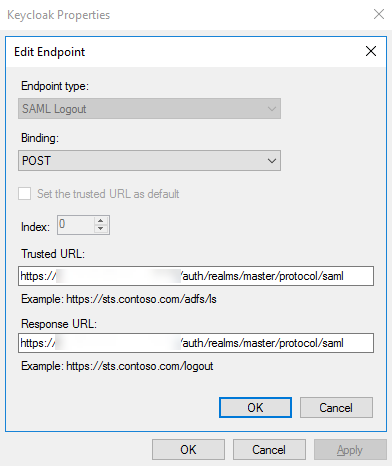
In Edit Endpoint, in the Endpoint type list, select SAML Logout. In Binding, select POST. In the Trusted URL, enter your service provider URL.
-
Export the AD FS SAML metadata to XML.
https://<adfs.domain.name>/FederationMetadata/2007-06/FederationMetadata.xml - Import the AD FS SAML metadata to Keycloak.
- In Add and Endpoint, in the Endpoint type list, select SAML Single Sign-On. In the Binding list, select POST. In the Trusted URL field, enter your service provider URL.
STEP 2. CONFIGURE A NEW CLIENT IN KEYCLOAK
- In the Keycloak admin console, select the realm you want to use.
- In the left navigation bar, select Clients, and create a new SP application.

- Select the file that you have downloaded earlier and click Save.

- Configure the following parameters:
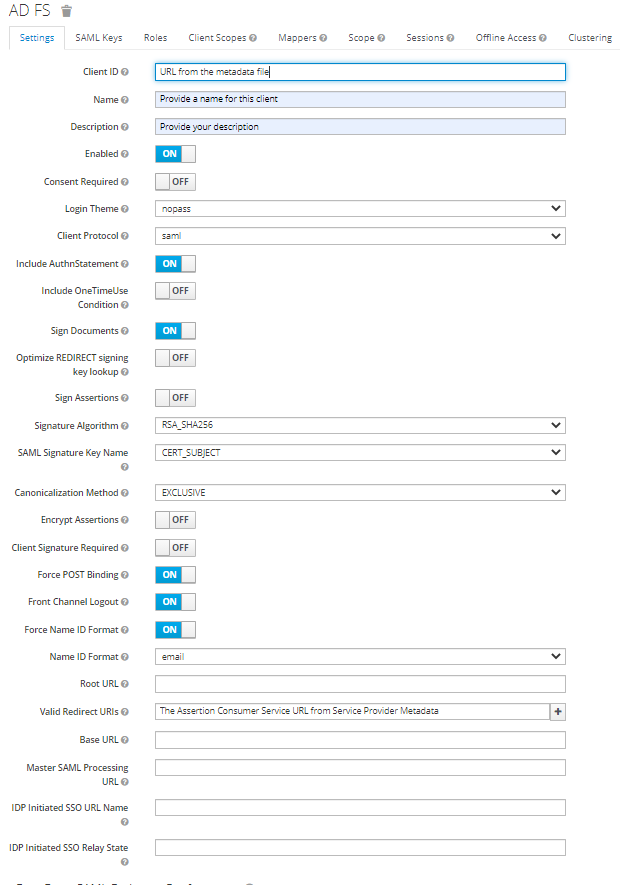
- Under Fine Grain SAML Endpoint Configuration, configure the following:
Assertion Consumer Service POST Binding UR
The ACS (Assertion Consumer Service) URL from Service Provider Metadata
Logout Service Redirect Binding URL
The Single Logout URL from Service Provider Metadata
STEP 3. TEST CONNECTION
To login to AD FS with SSO use the following URL:
https://<adfs01.domain.name>/adfs/ls/idpinitiatedsignon
A successful result looks as follows:
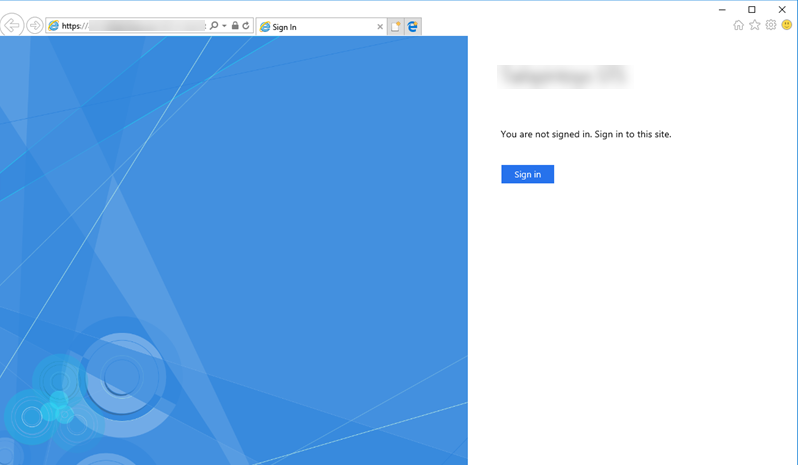
Now your AD FS is configured to work with Keycloak.